 Here is before, my first attempt
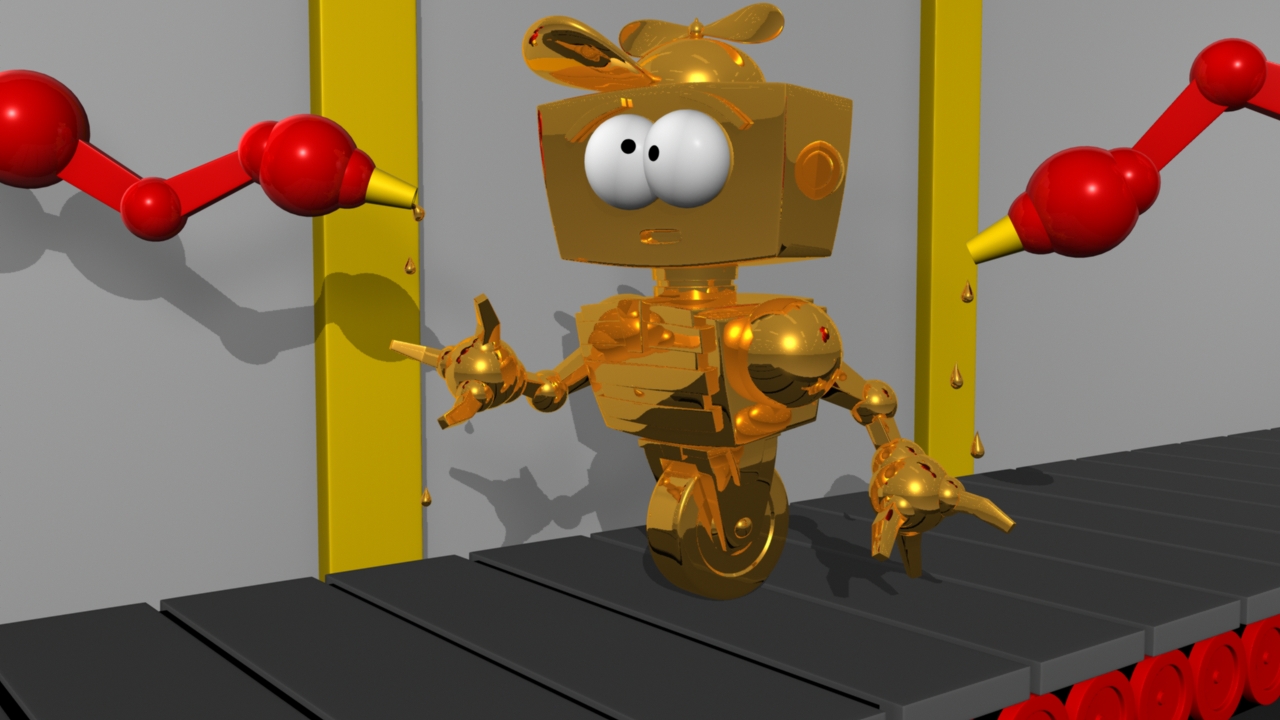
 And After! My remake.
This is actually the 4th time I've remade it. I kept coming across problems and would basically rage quit. But now I can practically make them from heart, haha.
Here are the basic shaders and UV map renders


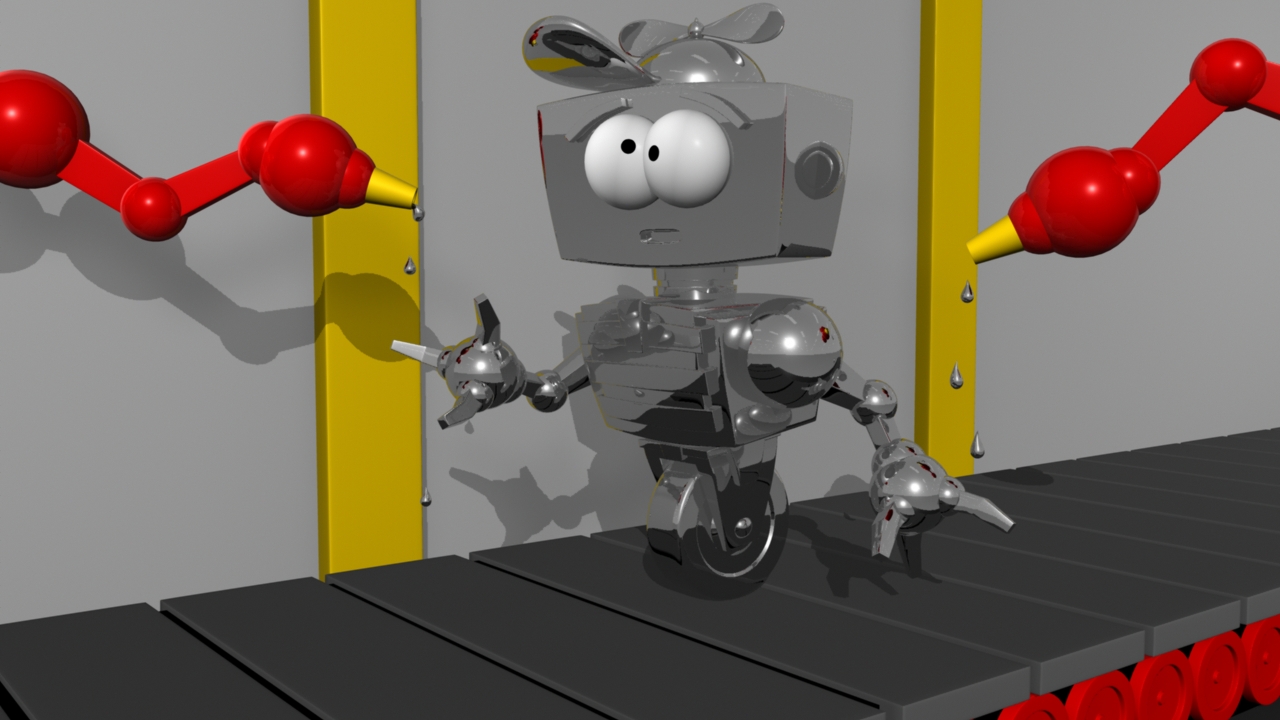

Came across many many many problems with the UV mapping.
After all the UV mapping had been done, it would not allow me to save it to be edited, not as a TIFF, JPEG, anything. I would spam OK and nothing would come of it. I closed maya, tried again, kept making sure I had the right settings, and again, nothing would happen if i clicked OK to save it. It wouldn't close, no response at all.
So, I had to make the texture print screening the UV map I had made and creating one on photoshop my self.
Then, the second problem I had, was that in the shot_cam view, it would not let me move the camera angel, or move anything within the scene, which was so annoying as it was at a very bad shot. So I had to do it in the second option, but again I found it hard to control the shot it took, and last second, one of the rotations of the cubes I made had changed. I must have pressed my keypad on one of the options for the XYZ angles. So, i had to render the image using the perspective in the second option, not the shot cam, and got this image, which I know isn't ideal, but, argh!
Alright, rant over. I will bring the file in to re render!
Nice character modeling .
ReplyDeleteSir actualy my short film movie charcrter is like this base on pencil eraser sharpnere can you show me the ringining part of this character , i find many deficulty to rig this character if any tutorial you have plz send me ...